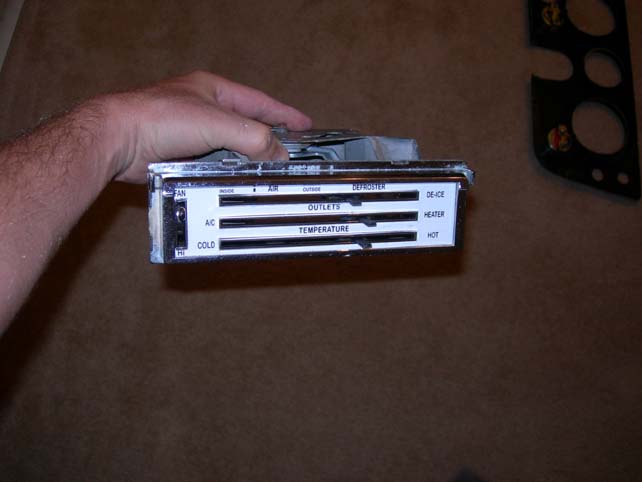
AC Controller Rebuild
by 67chevyredneck
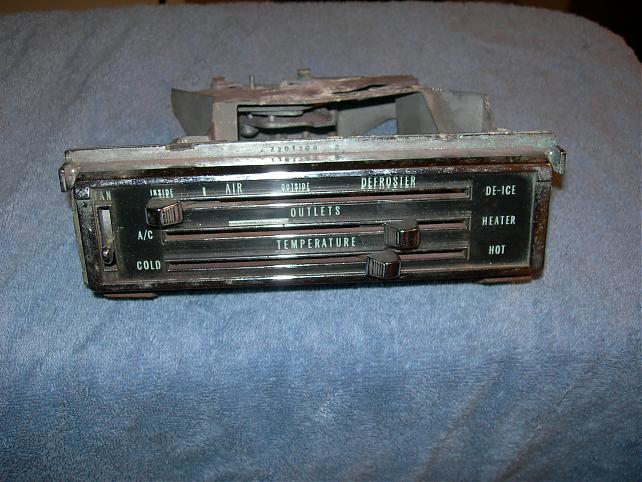
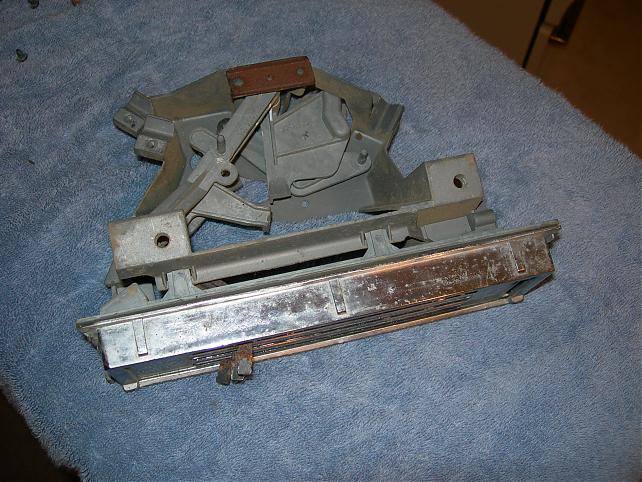
For those who want to add A/C to their trucks using a vintage air or other kit that utilizes a stock A/C controller, or you just want to restore your own back to functionality again... here's some tips on how to redo one. I have about $65 in this. $20 for a used A/C controller with broken arms, about $30 for the "repair kit" and $13 for a new fan switch from LMC. I also wanted to be a little different, so I did a "white face" one to match my dash. It's still cheaper than buying a rebuilt one for $120+. Also, if you don't have broken arms and a good fan switch, you can do this pretty cheap.
Here goes:
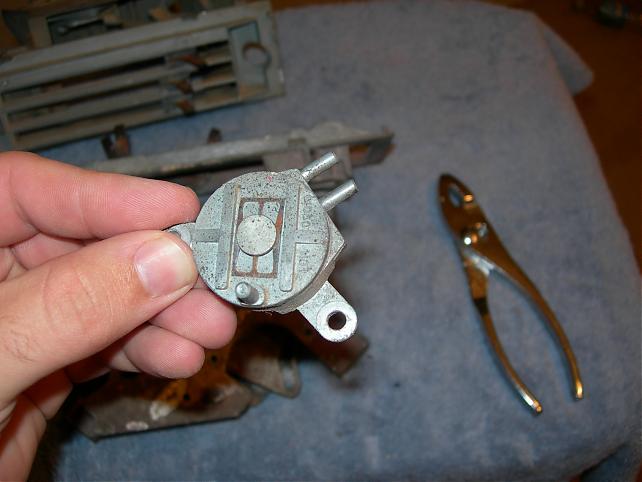
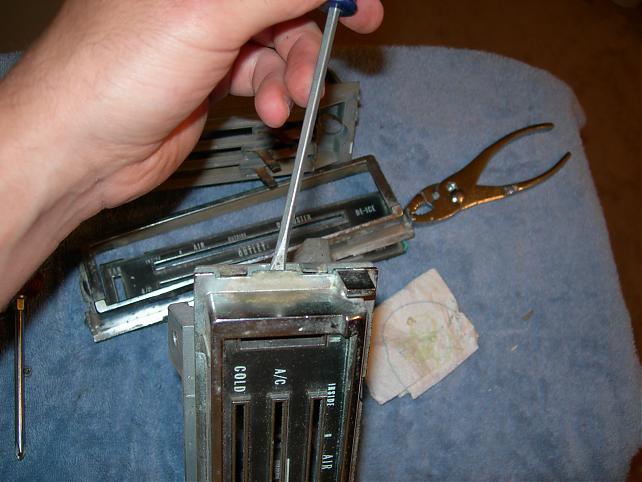
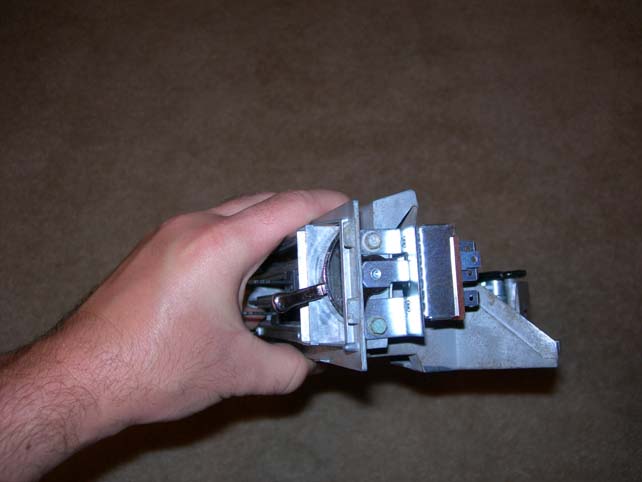
Remove the two screws from the vacuum switch and remove it. Remove the two screws from the fan speed switch and remove it as well. Don't loose the screws like I did
*as a side note, I had a spare parts controller to "copy from" because I did forget how stuff went back together, hopefully this will help others. Too bad I didn't have enough good arms between them, I still had to order the "repair" kit
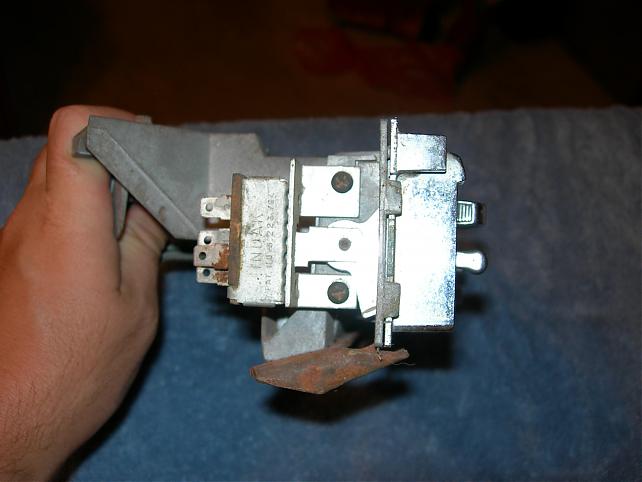
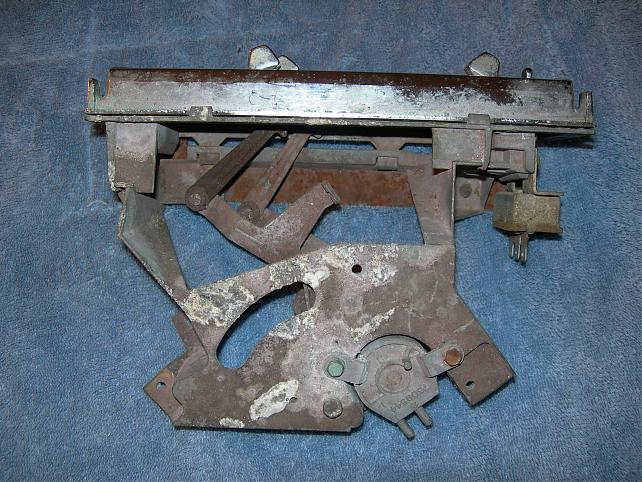
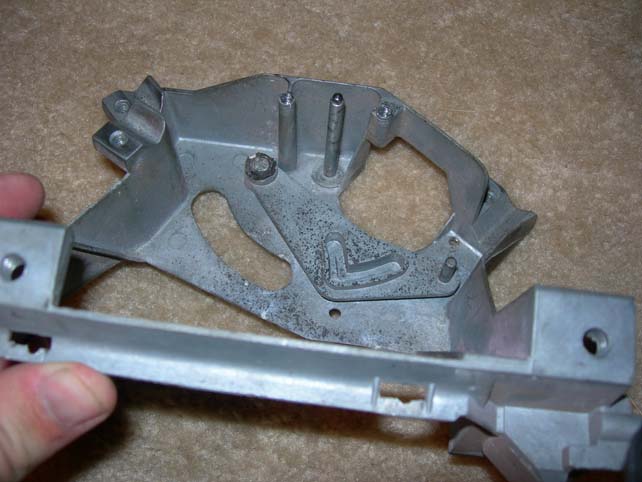
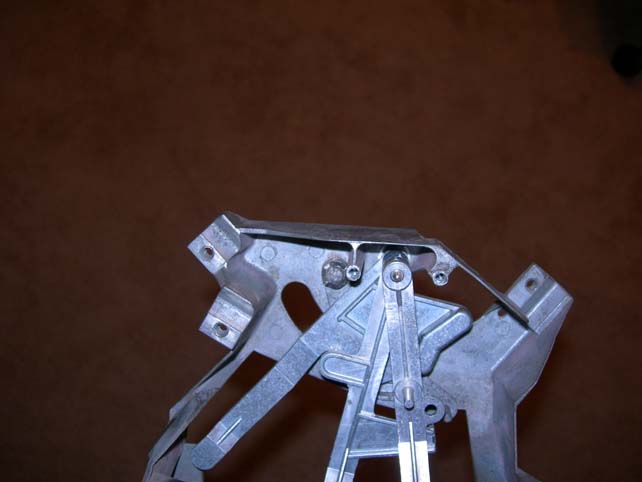
Next, remove the two screws that hold the bracket onto the assembly. This is the bracket the screws into the bottom of the dash that holds the assembly in place.
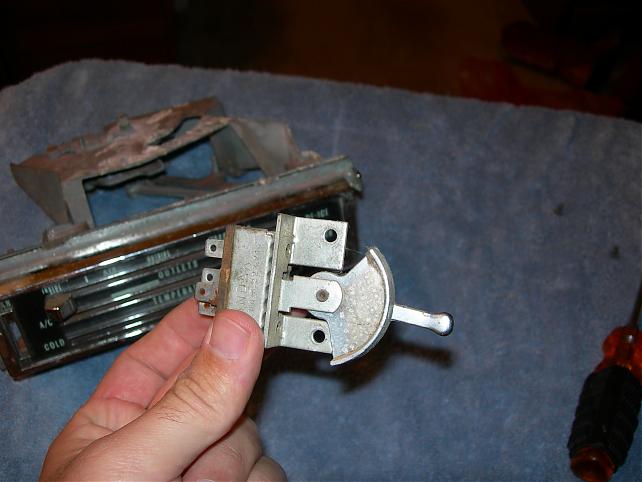
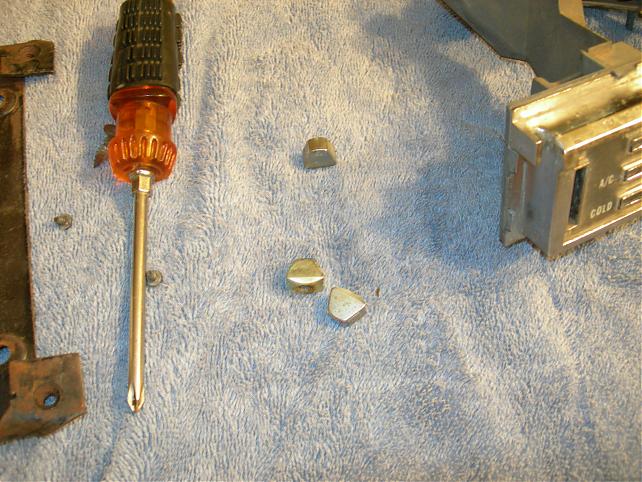
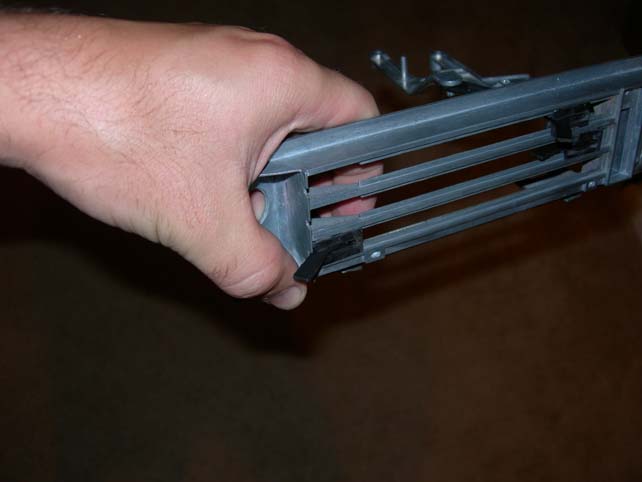
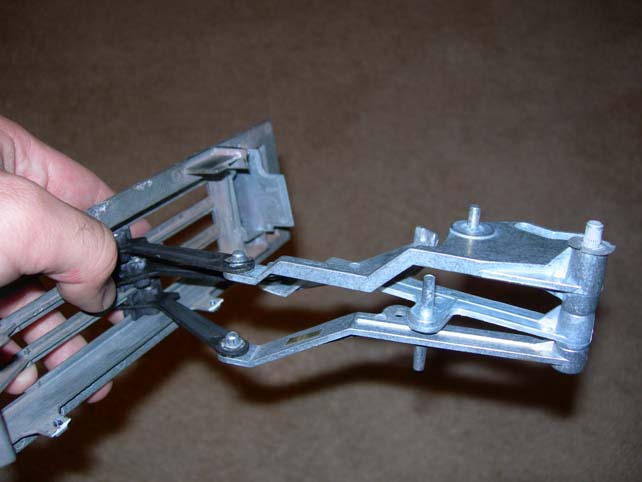
Next, you need to take off the controller arm ends (I really have no idea what to call them?) I used a pair of pliers and a cloth to take them off. If you grab them by the beveled edged and gently wobble it back and forth they'll come right off.
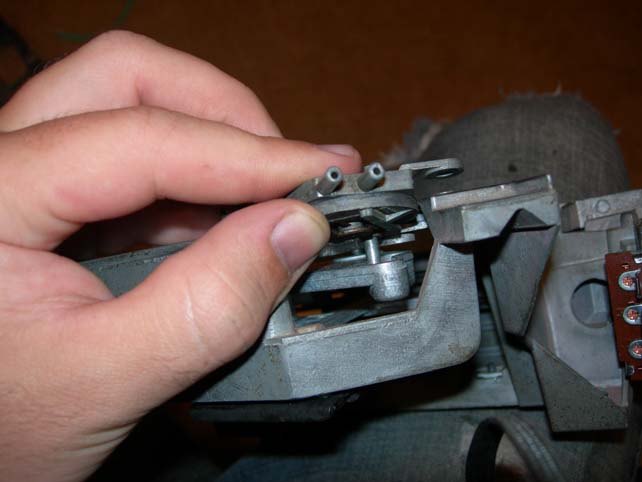
The next part is tricky. The metal on these old units is very brittle. You need to CAREFULLY bend the tabs on the side of the face of the controller out just enough so that you can stick small screwdriver behind it to pop the face off. You only need to do one side, during reinstall you just slip in the side you didn't bend first, and them push the other side in, more on that later.
If you're not carefull you will break the tabs! Luckily I had two of these and I didn't break the second one!
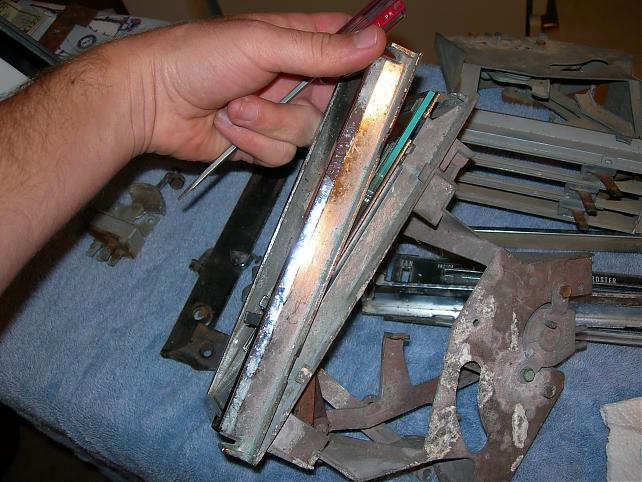
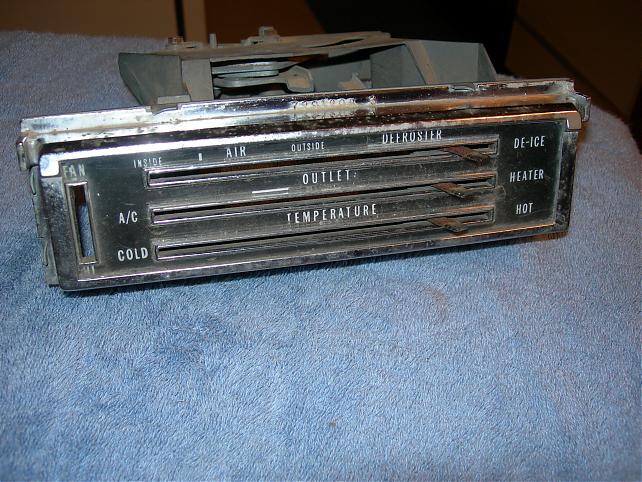
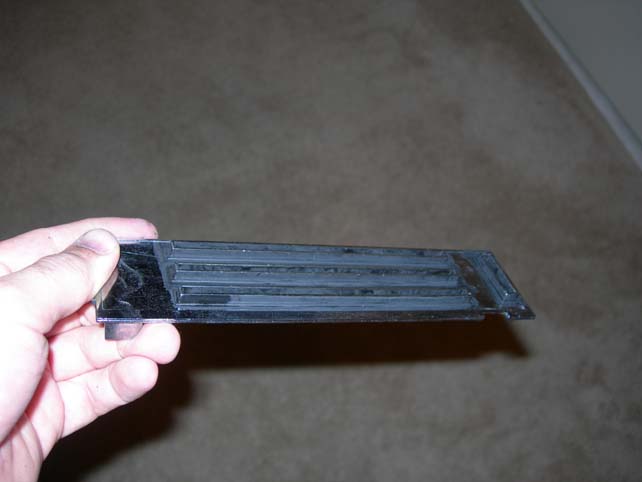
You will now have 3 pieces, the chrome outer face, the plastic lens, and the metal background piece.
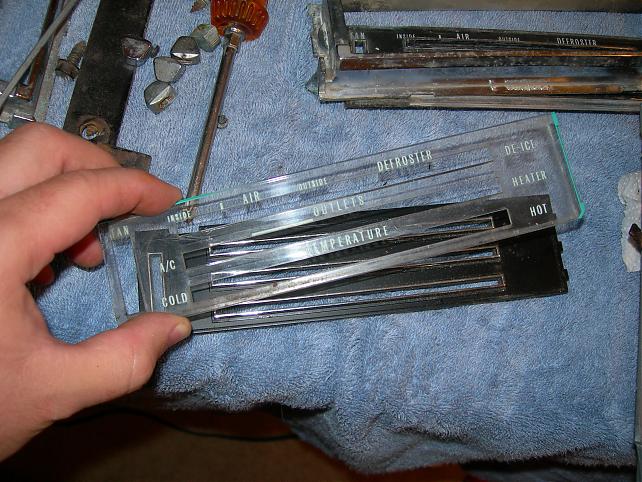
ext, you'll have to take the face off the the metal structure. There is one tab on each side, and two on the top. I COULD NOT get the top tabs off without breaking them. That sucked, but it was an easy fix (more on that later.) With the top tabs broken off, I pulled the face away and the side tabs slipped out of place and the face came off.
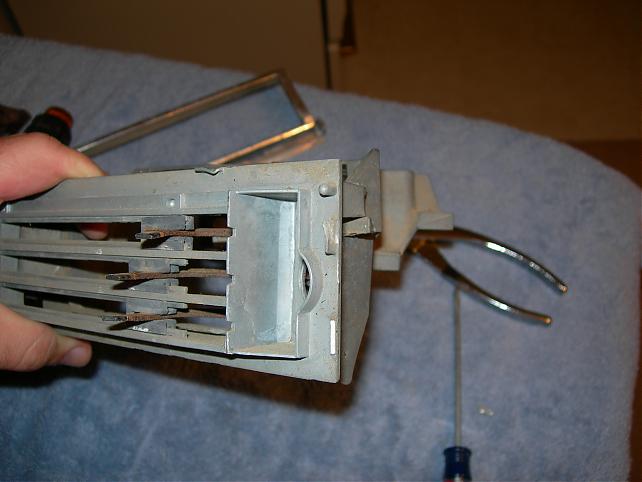
To get the face off completely, you need to slide the arms all the way to the left side of the face and there is an opening for all of the black plastic sliders to slide out of.
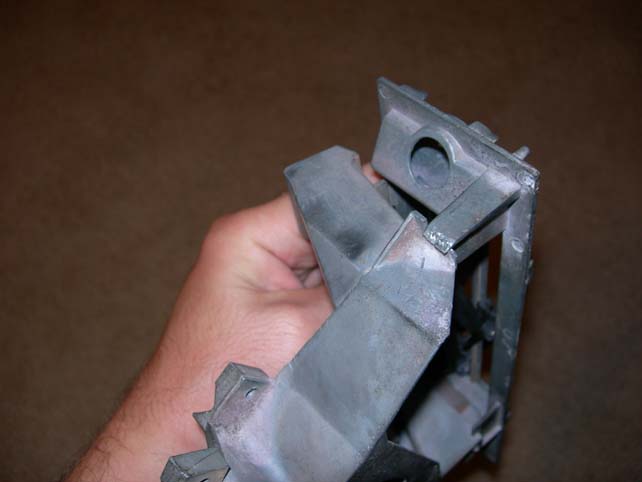

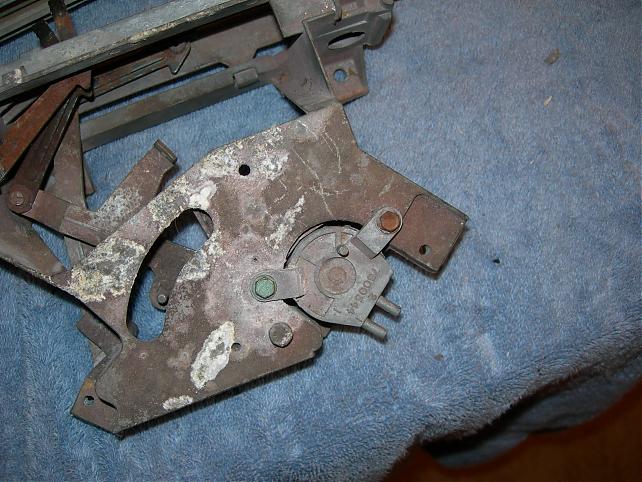
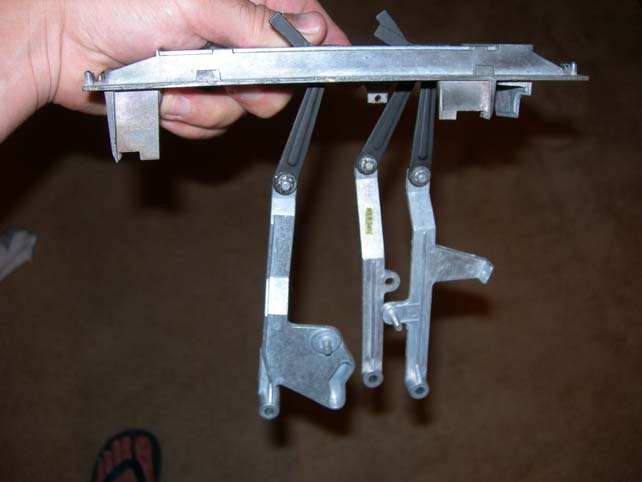
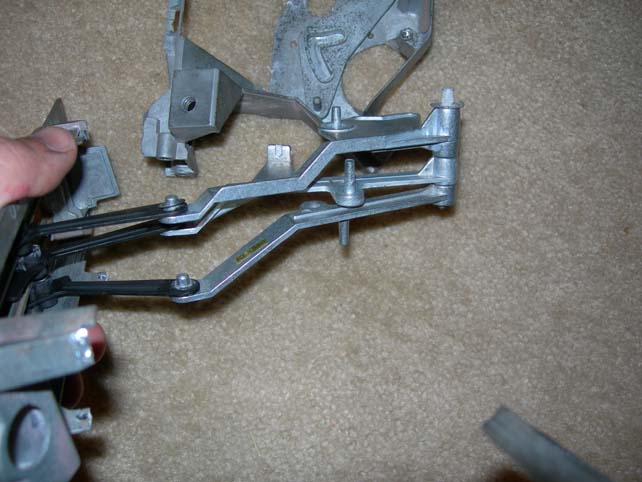
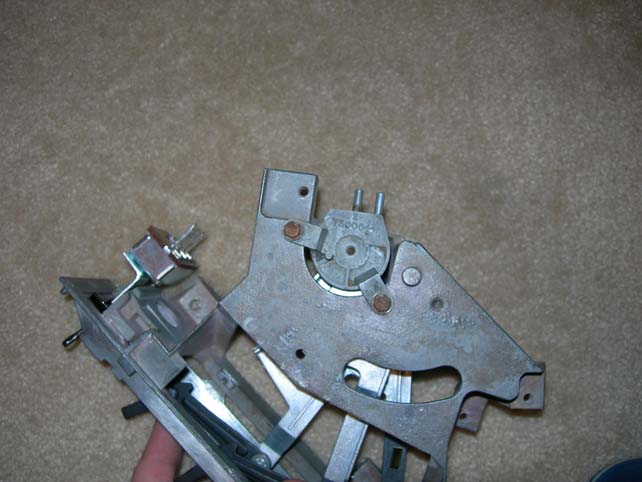
The last step in deconstruction is to remove the tab that keeps the arms in place. It's riveted to the top structure somehow and the only way to get it off is to break it? I have a fix for this later. Once that final piece is off, you can pull all of the arms out by lifting them off of the shaft at the back of the A/C assembly (under the tab you just removed.)

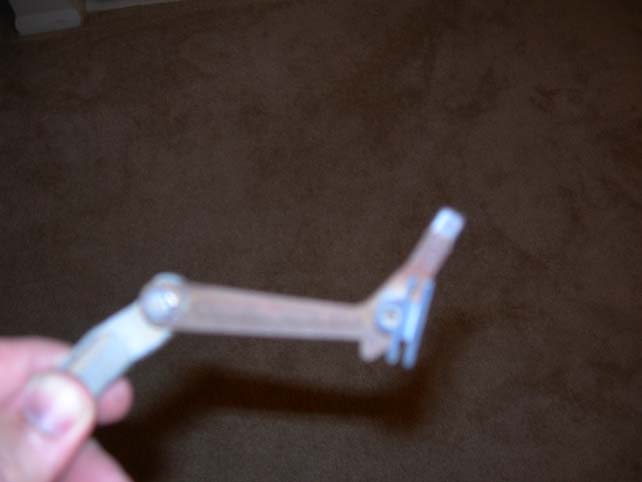
All of my arms were rusty, so I seperated the arms by removing the round washer-like clip thingy (that's a technical term!) I also needed to replace the aluminum? arms anyway with the ones from my LMC repair kit.

With the arms apart, I sanded and cleaned the rust pieces (they have to be reused.) I then sprayed them with a rust paint and let them dry for a day. Once they were dry, I painted them with some flat black model paint. I didn't remove the plastic sliders (I couldn't get them apart! ) so I kept moving their position so that I got paint on all the surfaces (I HATE rust!)
I forgot to take a pic this step, but you need to reassemble the arms exactly as they were originally (they are only supposed to go one way!) I used the new LMC arms and retainer clips they provided. Look at your retainer clips when you get them, they're only supposed to go one way, you can tell better when you see them what I mean.
*I'm sorry some of these came out blurry
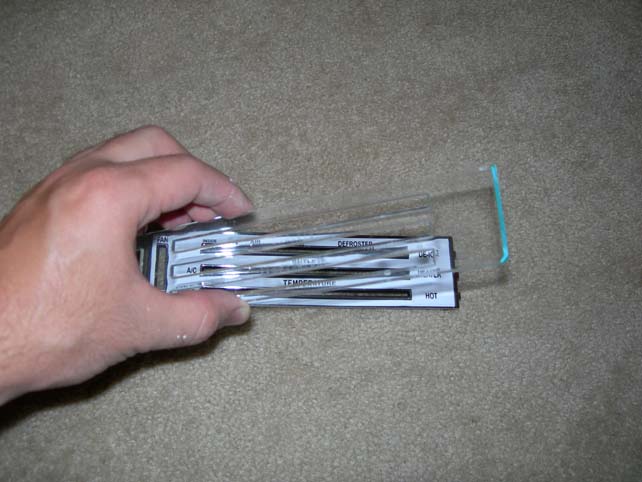
I then cleaned up my housings with a wire brush. Put the new arms into the face by putting the black plastic sliders into the slots and sliding them over. MAKE SURE THEY ARE IN THE CORRECT ORDER! I used my "parts" controller as a double check.
Once you have all 3 in the face, remove the pin they all sit on, mine came out easily.
Take the pin and slide it into the end of the arms.
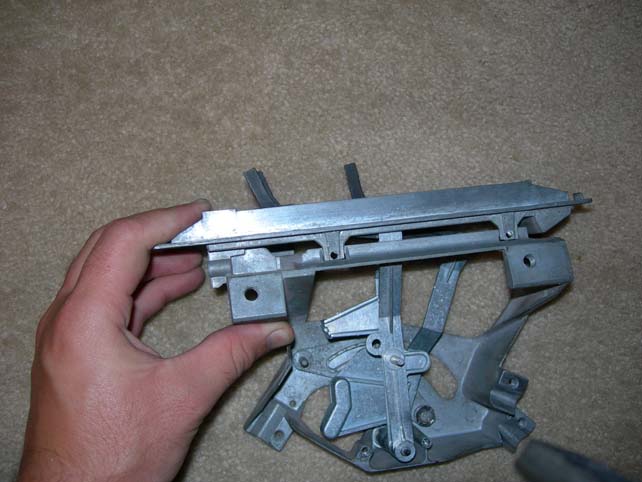
Take the new assembly, and slide the face back into place on the old unit.
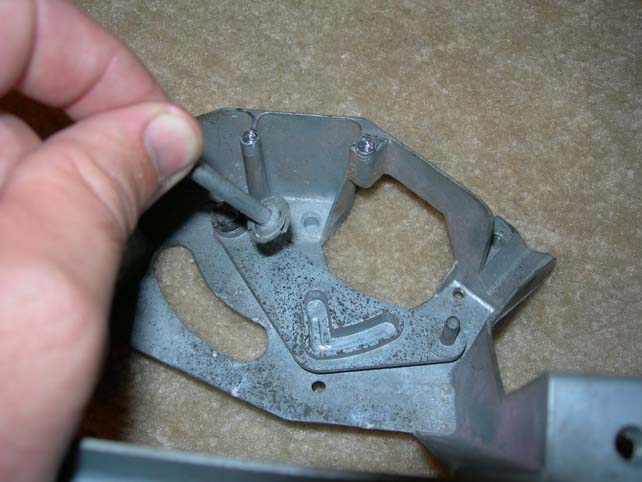
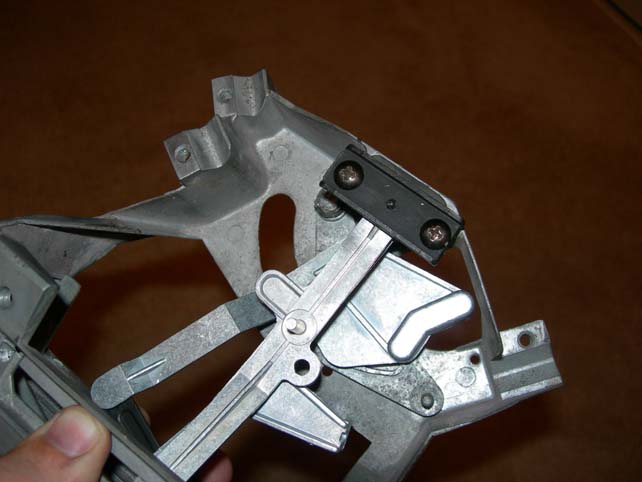
If you notice in the above photos, there's an arm I left in place, typically this small arm does not break and is not included in the repair kits. You need to make sure that when you put the assembly back together that:
1: The pin will slide back into place (the one at the back of the arms)
2: The arm that was not removed has a slot in it that the upper arm has to fit into so it will work properly.
Once those things are lined up you can put the face back on and carefully bend the tabs snug again.


To address the problems listed above with the broken tabs, I carefully drilled small holes and used small, course, screws to hold everything in place again.
Now that the main assembly is all back together you can put the vacuum switch back in. Just make sure to line it up with the slot and screw it back on. I sprayed some silicone spray in the moving areas of mine.
 I wasn't too confident that my fan switch still worked, plus it looked pretty crappy, so I ordered a new one of those too. Two screws and it's back in place.
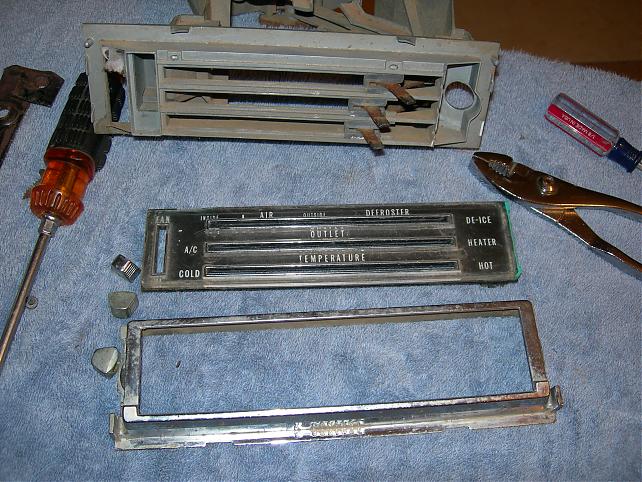
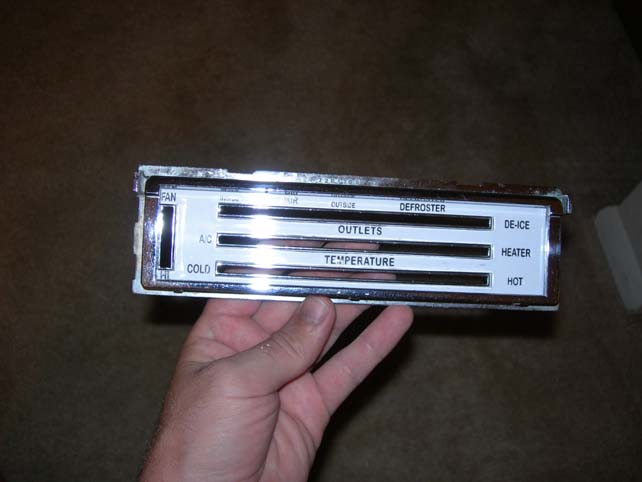
I cleaned (sanded) all of the old black paint off of the backing face and repainted it with some model paint. I didn't need to paint the whole thing because I was going to use a white face overlay. If you were doing a restoration I'd used some flat black spray paint for the whole thing.
I ordered a white face gauge kit from whitegauges.net from ebay. The instructions were easy to follow. Remove backing from overlay, spray soapy water solution onto back of overlay, apply overlay, use hair dryer to "shrink" overlay into place and evaporate water.
Once that was done, I needed to clean my lens. Used some paint scratch remover for car paint and a buffer wheel on my dremmel, it came out pretty nice. I had the "older" style of lens, so it was easy to remove the paint from the letters. On the newer lenses the letters are recessed into the lens (as is the paint) and is difficult to remove.
Overlay the lens onto the backing face.
I cleaned my chrome face with some Mothers chrome polish and it came out pretty clean, good enough for a driver.
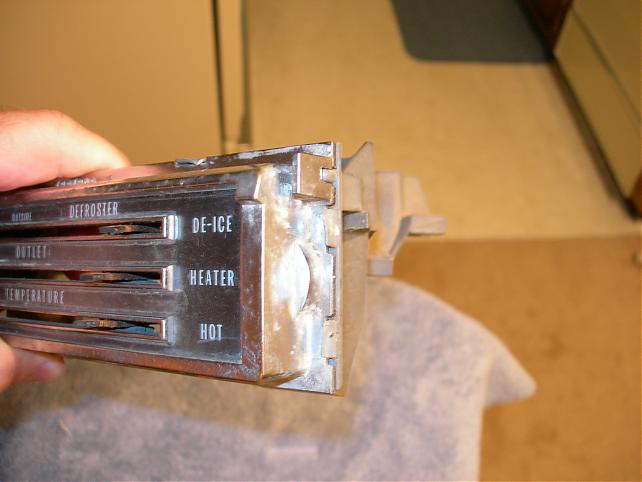
Put the lens assembly into the chrome face and put it back onto the front of the unit as mentioned earlier. Once in, gently tap the metal tabs so the face is on tight.

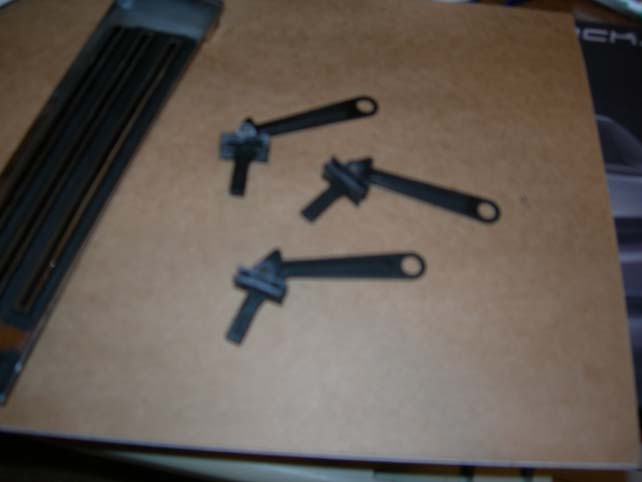
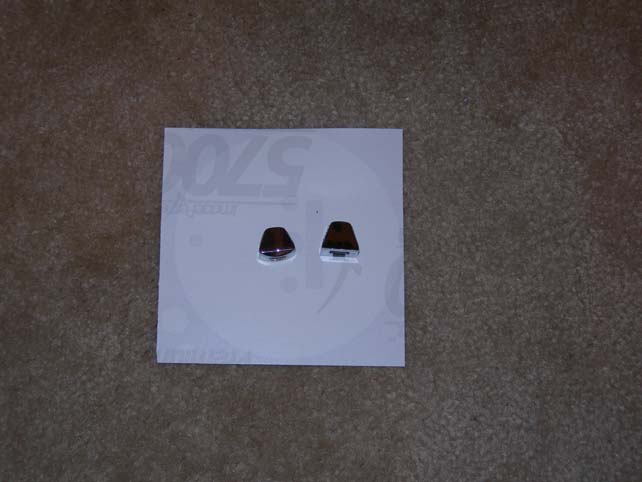
I was a little miffed at the contoller thingys that came with the LMC repair kit. The stock is on the left and the "new" one is on the right. I thought they "looked" ok, but when used on an A/C unit they hit the face of the unit when they are all the way in the left side positions. Not good. So I cleaned up the old ones I had with some Mother's chrome polish. Very disappointed, however, they WILL work well with a "heater" unit because the arms stick out past the face much farther.
Finally, slide the controller thingys onto the arm ends. They just push on.
All that's left is to clean up and paint the bracket and put it back on (mine is drying, so isn't done yet.)
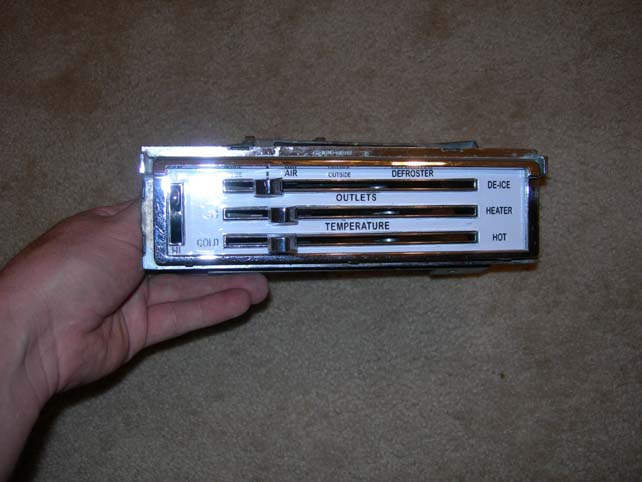
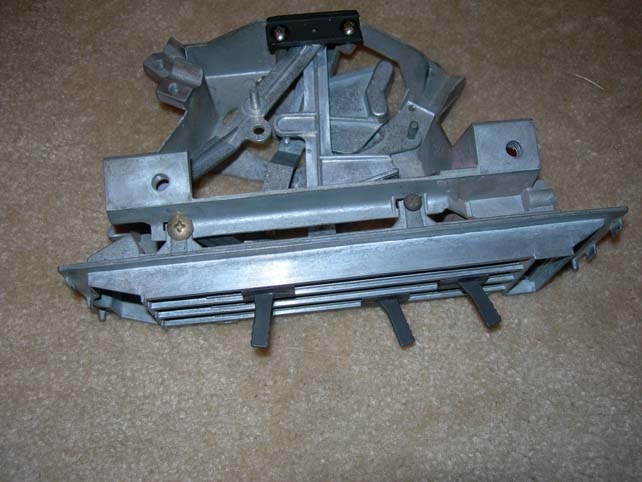
BUT ANYWAY! Here's the completed assembly, ready for use.